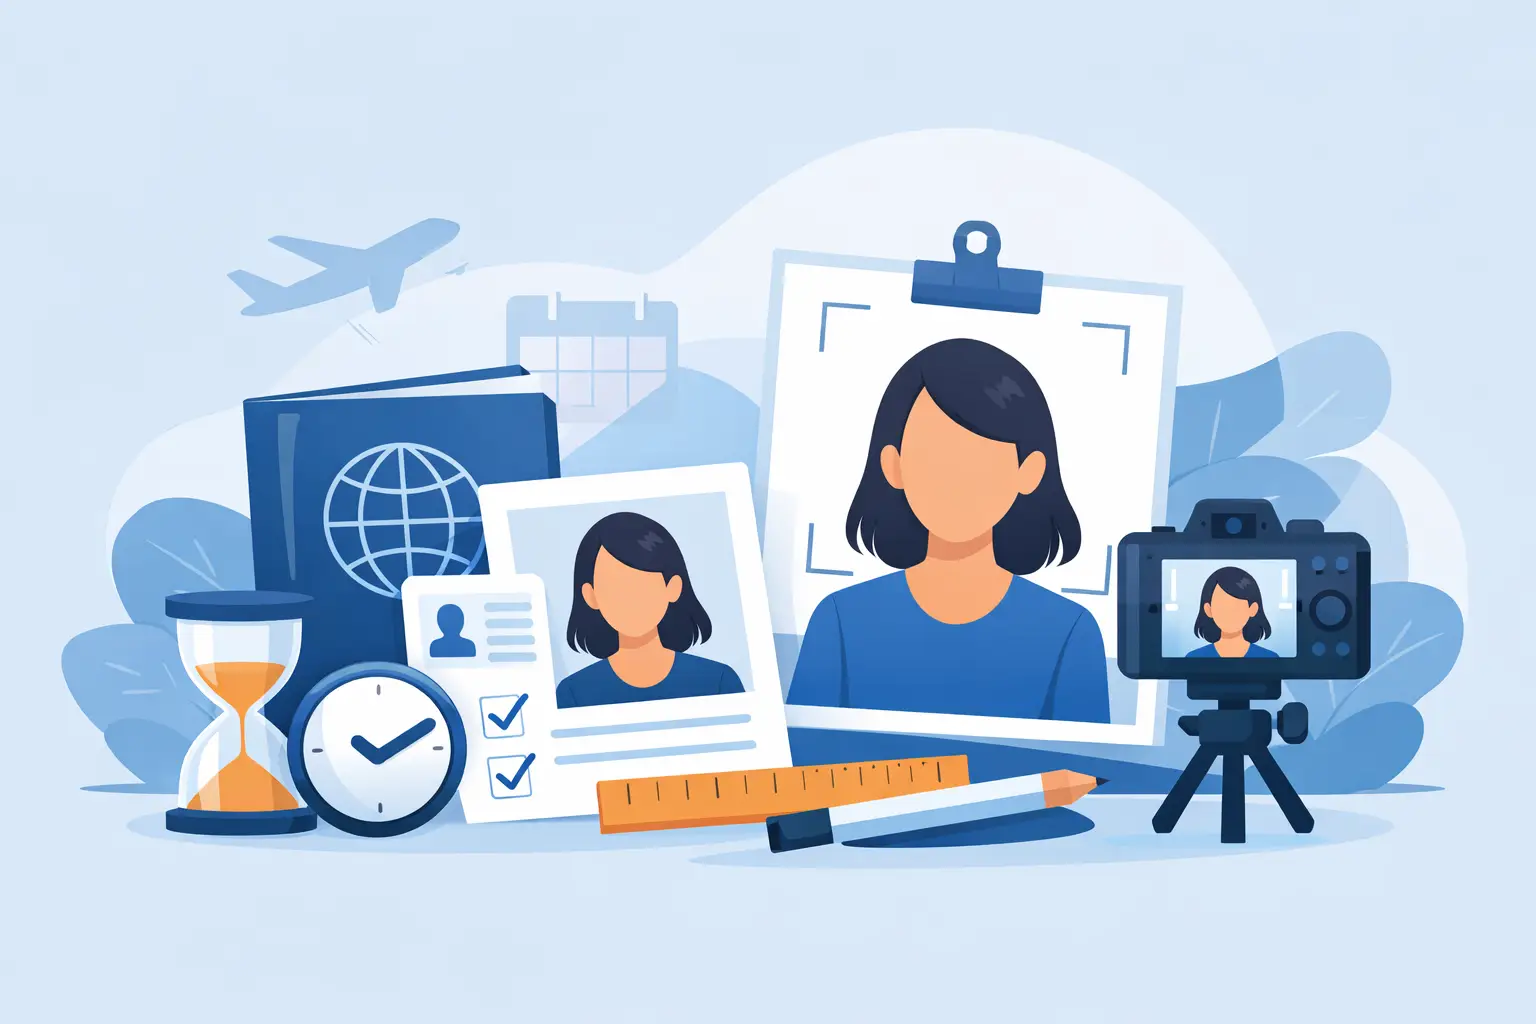
A visa application can be complete in every other respect and still be delayed because of one small image. A shadow on the wall, an outdated photo, the wrong digital dimensions, or a smile that is too broad can trigger a request to resubmit. Knowing how to prepare visa photo requirements correctly helps protect your travel timeline before your application reaches the embassy or visa center.
Photo rules vary by destination, visa category, and whether you are submitting online or in person. The safest approach is to treat the photo specification as a required document, not a quick selfie added at the end of the application.
Start With the Destination’s Exact Visa Photo Rules
There is no single photo standard for every visa. Many applications use a square 2 x 2 inch photo, while others require a rectangular format, such as 35 x 45 mm. Digital portals may also set their own pixel dimensions, file-size limits, and accepted formats, usually JPG or JPEG.
Check the instructions issued for your specific destination and visa type before taking the photo. Pay close attention to the required size, how recently it must have been taken, the background color, and whether the portal requires a scanned printed image or a direct digital upload. A photo that was accepted for a previous UAE, Schengen, U.S., Indian, or Saudi visa application may not be accepted for the next one.
If you are applying with family members, review each applicant’s photo separately. Children and infants often have limited allowances, but their photo still needs to be clear, current, and properly framed. Do not assume one child’s photo can be cropped to meet every destination’s requirements.
How to Prepare Visa Photo With the Right Background and Lighting
Most visa authorities ask for a plain white or light-colored background. It should be smooth, evenly lit, and free of objects, patterns, corners, curtains, or visible shadows. A textured wall that looks white to the eye can still appear gray or uneven when photographed and may cause a rejection.
Use soft, balanced light from the front. Daylight near a window can work if the light is even, but avoid direct sun because it creates harsh shadows and bright spots on the face. If you use indoor lighting, position it so both sides of the face are equally visible. The goal is a natural image with clear skin tone and no red-eye.
Do not use filters, portrait mode blur, beauty effects, or AI retouching. Even minor edits can change facial features, remove marks, soften edges, or alter skin color. Visa authorities need an accurate, current likeness that can be matched to your passport and verified at the border.
A professional photo studio familiar with immigration photos is often the lowest-risk choice, especially for urgent travel. If you take the image yourself, use a good-quality camera, place it at eye level, and review the final file at full size before uploading it.
Position Your Face Correctly
Your face must be centered, directly facing the camera, and fully visible from the top of the head to the chin. Keep your head straight rather than tilted or turned. The required head size differs by country, so do not crop the image aggressively unless you know the exact measurement or digital template requested.
Maintain a neutral expression with both eyes open and your mouth closed. A slight natural expression is usually fine, but a broad smile, raised eyebrows, or closed eyes may not meet biometric standards. Look directly at the lens, not at the screen or another person standing beside the camera.
Keep hair away from your eyes and make sure the full outline of your face is visible. Religious or medical head coverings are commonly permitted when worn daily, but they must not cover the face or create heavy shadows. Review the destination’s official guidance if you have any doubt about a covering, eyewear, or medical exception.
Choose Clothing and Accessories Carefully
Wear normal, tidy clothing that contrasts with the background. If the background is white, a darker shirt or top usually creates a cleaner image. Avoid uniforms, unless they are religious clothing worn every day, and avoid clothing with busy patterns that can distract from the face.
Glasses are a frequent source of problems. Many authorities prefer applicants to remove them unless there is a medical reason to keep them on. Reflections, tinted lenses, thick frames, and frames that cover the eyes can all lead to rejection. Sunglasses are not acceptable for standard visa photos.
Avoid hats, headphones, large jewelry, and fashion accessories that obscure facial features. Natural makeup is generally acceptable, but do not use makeup or contouring intended to significantly change your appearance. Your application photo should resemble the person who will arrive for biometrics, board the flight, and present a passport at immigration.
Meet Digital File Requirements Before You Upload
For online visa applications, a perfectly taken image can still fail if the file does not meet the portal’s technical rules. Before submission, confirm the file type, maximum and minimum file size, dimensions, resolution, and color requirements. Uploading a screenshot of a photo is risky because screenshots may reduce quality, add borders, or create an unsupported file format.
Use the original image whenever possible. It should be sharp and in focus, without compression artifacts, pixelation, or visible grain. Do not scan a photo from a passport page, identity card, or old visa sticker. These copies can include glare, document edges, stamps, or reduced image quality.
Name the file clearly if the system permits it, such as `firstname-lastname-visa-photo.jpg`. This is especially useful when submitting documents for several family members. Then open the uploaded preview and make sure the system has not rotated, stretched, or cropped the photo unexpectedly.
Avoid These Common Visa Photo Mistakes
Small errors are easy to miss when you are focused on flight dates, hotel bookings, and supporting documents. Before submitting, check for these common issues:
- Using a photo that is older than the allowed period, often more than six months old.
- Submitting an image with shadows, a patterned background, or a visible wall edge.
- Cropping the head too closely or leaving too much empty space around it.
- Wearing glasses that create glare or cover the eyes.
- Applying filters, smoothing, color changes, or heavy retouching.
- Uploading a file that is blurry, too large, too small, or in the wrong format.
A helpful rule is simple: if the photo looks stylized, casual, or edited for social media, it is probably not suitable for a visa application. The image should look plain, accurate, and easy for an immigration officer or biometric system to assess.
Take Extra Care With Children and Infants
Visa photos for young children can require patience. A child should face forward with eyes open where possible, have a neutral expression, and appear alone in the frame. Parents’ hands, arms, toys, car seats, and other people should not be visible.
For infants, some destinations allow more flexibility around expression and eye position. Even so, use a plain background and ensure the child’s face is unobstructed. It may take several attempts to get an acceptable photo, so do not leave it until the day an urgent application is due.
Do a Final Check Before Submission
Before you submit your visa application, compare the photo against the current checklist one final time. Confirm that it is recent, correctly sized, clear, centered, and free of edits. Also make sure it matches your present appearance. If you have changed your hairstyle significantly, grown or removed a beard, or started wearing glasses regularly, taking a new photo is usually the safer choice.
When requirements feel unclear or an application has a tight deadline, getting expert review before submission can save time. Trawego helps travelers organize visa documents with clear, guided support so avoidable photo errors do not stand between them and their travel plans. A few careful minutes spent checking the image now can prevent a stressful resubmission later.